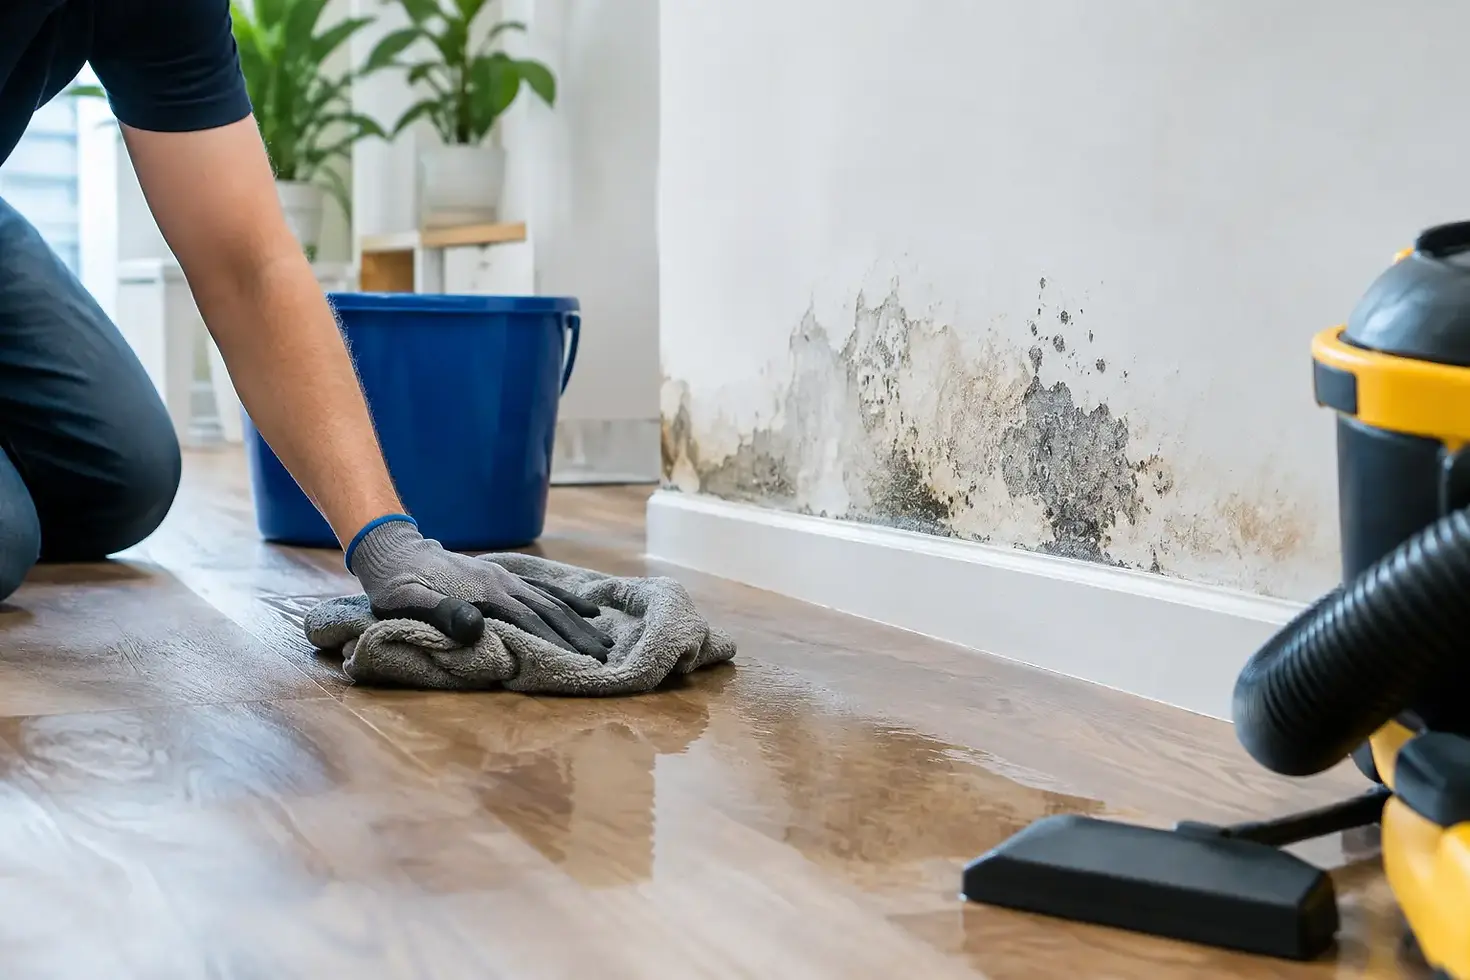
How to Prevent Mold After Leaks: First 48 Hours
A small leak behind a washing machine, under a sink, or above a ceiling can become a mold problem before the visible water stain gets your attention. To prevent mold after leaks, the priority is not simply removing standing water. It is finding where moisture traveled, drying the affected materials completely, and acting before mold has time to establish itself.
Mold can begin growing on damp building materials within 24 to 48 hours under the right conditions. That timeline is why a water loss should be treated as an urgent property issue, even when the leak looks minor. Fast, organized action can protect drywall, flooring, insulation, furniture, and indoor air quality while reducing the chance of a larger restoration project later.
Stop the Water Source First
Drying cannot succeed while water is still entering the property. Shut off the nearest water supply if a plumbing fixture, appliance hose, or pipe is leaking. If the source is a roof leak, exterior opening, or storm-related intrusion, take reasonable steps to limit additional water entry without putting anyone at risk.
For active leaks near electrical outlets, appliances, panels, or wiring, do not step into pooled water or attempt repairs yourself. Turn off power only if it can be done safely from a dry location, then contact a qualified professional. Safety comes before cleanup.
Once the water source is controlled, take photos and short videos of the affected areas before moving damaged belongings. Clear documentation can be useful when reporting a loss to your insurance carrier, especially if water has affected finished materials, contents, or multiple rooms.
Remove Water Quickly, but Do Not Assume the Surface Is Dry
Visible water needs to be extracted as soon as possible. Towels and a wet vacuum may help with a very small, clean spill on a hard surface, but they are not a complete drying plan for water that has reached flooring edges, wall cavities, carpet padding, subfloors, or insulation.
Water moves farther than most people expect. It can wick up drywall, travel beneath vinyl or laminate flooring, settle under baseboards, and soak into carpet padding even after the surface feels dry. A dry-looking room may still hold enough moisture to support mold growth.
Move wet rugs, furniture, boxes, and other contents away from affected areas. Lift furniture legs with protective blocks when practical, and remove items that prevent airflow across wet flooring. Avoid stacking damp belongings in a garage, basement, or another enclosed area. That simply relocates the moisture problem.
If the water came from a toilet overflow, sewage backup, ground flooding, or another potentially contaminated source, do not treat it like a clean-water leak. Contaminated water can introduce bacteria and other hazards into porous materials. Those materials may require controlled removal and disposal rather than drying alone.
How to Prevent Mold After Leaks With Proper Drying
Opening windows or placing a household fan in the room can help in limited situations, but airflow is only one part of drying. Effective drying requires a balance of air movement, humidity control, temperature, and moisture monitoring. In humid weather, opening windows can sometimes bring more moisture indoors and slow the process.
Use dehumidification to pull water vapor from the air, particularly in enclosed rooms, basements, and spaces with poor ventilation. Position fans so they move air across wet surfaces rather than blowing directly into walls or forcing moisture into unaffected spaces. Keep interior doors open where appropriate to improve circulation, but close off the affected area if contamination is a concern.
The goal is not to make the room feel less damp. The goal is to return affected materials to an acceptable moisture level. Professional water mitigation teams use moisture meters, thermal imaging, and controlled drying equipment to locate hidden wet areas and verify that structural materials are actually dry.
This matters because drywall, wood framing, subflooring, and insulation all dry differently. A wall may look normal from the outside while its insulation remains saturated. In some cases, carefully removing baseboards, drilling small access points, or removing a section of damaged drywall is the safest way to expose and dry the assembly. There is a trade-off: preserving materials is valuable, but saving a material that cannot be dried properly can lead to mold and more costly repairs later.
Inspect the Places Water Commonly Hides
After a leak, inspect beyond the obvious wet spot. Check the room below an upstairs leak, the backs and bottoms of cabinets, closets that share a wall with plumbing, and the perimeter of nearby flooring. Look beneath sinks, around toilets, behind appliances, and inside utility rooms.
Signs of hidden moisture or early mold risk include a musty odor, peeling paint, swelling baseboards, warped flooring, soft drywall, bubbling finishes, rust on metal components, and recurring condensation. A stain that keeps growing after the leak has stopped is a clear sign that moisture may still be present.
Ceiling leaks deserve special attention. Water can pool above ceiling drywall and spread along framing before it becomes visible. If a ceiling is sagging, bowed, or actively dripping, keep people out from underneath it. The material may be holding significant water weight and should be assessed promptly.
Know When Materials Need to Be Removed
Not every wet material needs replacement. Nonporous surfaces such as glass, metal, and some plastics can often be cleaned and dried successfully. Solid wood may be recoverable if drying begins quickly and the material has not warped or delaminated.
Porous materials are more complicated. Carpet padding, cellulose insulation, damaged drywall, particleboard cabinetry, and upholstered items can hold moisture deep inside. If they were exposed to contaminated water or cannot be dried within a reasonable timeframe, removal may be necessary to prevent ongoing microbial growth.
Do not paint over water stains or spray fragrance to cover a musty smell. Neither action resolves moisture. Mold prevention depends on correcting the water source and drying the affected structure, not covering the evidence.
Protect Occupants and Your Insurance Claim
People with asthma, allergies, compromised immune systems, or respiratory sensitivities may react more strongly to mold and damp indoor conditions. If visible mold is already present, avoid disturbing it unnecessarily. Scrubbing or tearing out materials without containment can spread spores to other parts of the property.
For homeowners, property managers, and business owners, documentation is part of a controlled response. Record the date and time the leak was discovered, where water traveled, what emergency steps were taken, and which materials were affected. Save photos, damaged-item lists, receipts, and communications related to the incident.
Insurance policies vary, and coverage can depend on the cause of loss, maintenance history, and the type of damage involved. Prompt reporting and clear mitigation records can help demonstrate that reasonable steps were taken to limit secondary damage. A restoration professional can also provide moisture findings, drying records, and scope documentation that support the claims process.
When to Call a Water Mitigation Professional
A professional assessment is a smart next step when water has entered walls, ceilings, carpet, insulation, wood flooring, or multiple rooms. It is also recommended after a sewage backup, storm flooding, a burst pipe, or any leak that may have been active for more than a day or two.
The same applies when a musty odor remains, materials feel soft or swollen, or you cannot confirm that the affected area is dry. These are not situations where waiting is likely to improve the outcome. Early extraction, targeted demolition when required, controlled drying, and moisture verification can prevent a contained leak from turning into a mold remediation project.
Drytek Solutions approaches water losses with that urgency: assess the extent of the moisture, remove water and damaged materials where needed, dry the structure properly, and document the work clearly. The objective is straightforward - protect the property, reduce health concerns, and help restore normal use as quickly as possible.
If a leak has occurred, do not wait for a visible mold patch to decide it needs attention. Treat the first 48 hours as your opportunity to control the damage, confirm the area is dry, and keep a water emergency from becoming a longer, more disruptive problem.


Comments